[ To next page ]
Making the Mold
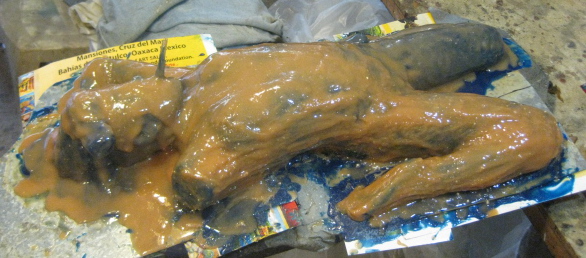
When the clay model is exactly the way I want the finished casting to be, the next step is to make a rubber mold of the clay. For this I spray on a mold release and then brush on multiple coats of liquid polyurethane, allowing each coat to partially solidify, until the mold is between one-quarter and three-eights of an inch thick.
The Mother Mold
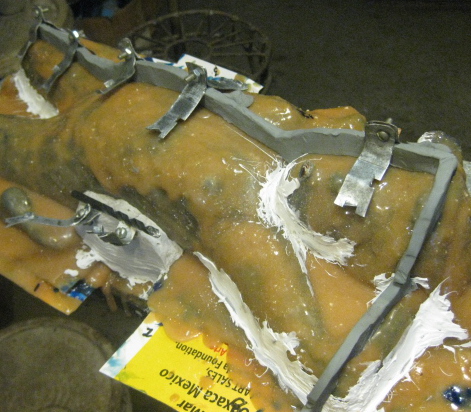
After the polyurethane rubber has hsd twenty-four hours to fully cure, I make what is called a mother-mold from plaster. It is made in sections that bolt together so that it can be removed from the rubber mold without breaking the plaster.
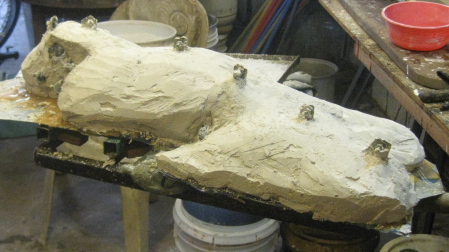
The mother-mold's job is to hold the flexible rubber mold in the exact shape of the clay model.
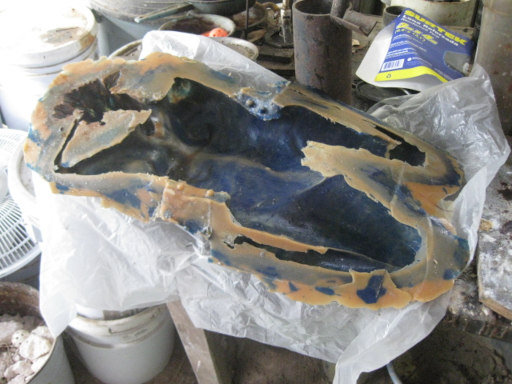
Here is the finished mold complete, viewed from the bottom. The next step is to sprey in a silicone mold-release and then to heat a pot of microcrystalline wax to 220F.
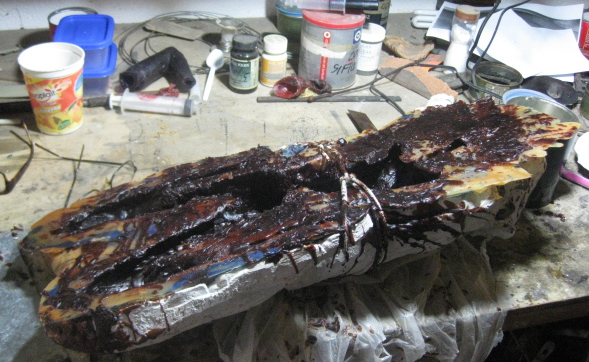
I pour the melted wax in, slosh it around, and pour the excess back in the pot. I keep doing that until I have built up three-sixteenths of an inch of wax in the mold.
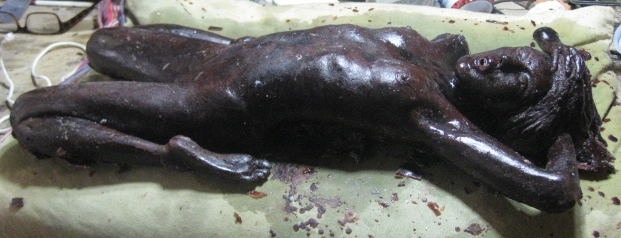
After it has cooled completely, I unbolt and remove the mother-mold and then carefully remove the rubber mold from the hardened wax. It doesn't always come out exactly right the first time. If not, I put the wax back in the pot and pour it again.
[ To next page ]
[ Return to Slideshows ]
Making the Mold
When the clay model is exactly the way I want the finished casting to be, the next step is to make a rubber mold of the clay. For this I spray on a mold release and then brush on multiple coats of liquid polyurethane, allowing each coat to partially solidify, until the mold is between one-quarter and three-eights of an inch thick.
The Mother Mold
After the polyurethane rubber has hsd twenty-four hours to fully cure, I make what is called a mother-mold from plaster. It is made in sections that bolt together so that it can be removed from the rubber mold without breaking the plaster.
The mother-mold's job is to hold the flexible rubber mold in the exact shape of the clay model.
Here is the finished mold complete, viewed from the bottom. The next step is to sprey in a silicone mold-release and then to heat a pot of microcrystalline wax to 220F.
I pour the melted wax in, slosh it around, and pour the excess back in the pot. I keep doing that until I have built up three-sixteenths of an inch of wax in the mold.
After it has cooled completely, I unbolt and remove the mother-mold and then carefully remove the rubber mold from the hardened wax. It doesn't always come out exactly right the first time. If not, I put the wax back in the pot and pour it again.
[ To next page ]
[ Return to Slideshows ]